Procrastination? Yeah. I has it.
I commented--rather, I lamented-- in a comment on her post that this was the inspiration I needed to finally move on to some other napkins on our table. You see, when I made that comment one year ago, we had Easter themed napkins in daily use from about two years before that, at least.
Honestly, thinking about it, I think we used those napkins for even longer...maybe four or five years?!
Yes folks, Christmas morning at our house meant the Easter bunny (on the lavender napkin) smiling up at you in all in his pastel glory. Thanksgiving, well at least the carrot-embroidered napkin had a yellow napkin. And really, there was something quite comforting about my favorite, the sky blue napkin with the pretty yellow and red tulips.
Anyway, after seeing her gorgeous fall napkins about a year ago, I decided it was time to move away from the Easter theme and on to something a little more, well, anything else at all dear god would be great!
So, I finally did it. I bought the fabric a few weeks ago, sat down at my sewing machine, and had a total fit. I just couldn't get the darn things to work. I came back to it about a week later, and everything went so easily that I can't imagine anyone ever having a problem with it in the first place--even me!
First I took the fabric and ripped it down the center, which yielded strips about 18" wide. I made little snips in the fabric to mark 18" in the other direction and tore each of those snips to yield four 18" square pieces of fabric. Because I still had the selvage on one edge of each napkin, I used the width of the selvage to determine my first fold for the hem. I folded the fabric over one more time and ironed it flat to within an inch of its life.

I then sewed a straight stitch all the way around, with the bottom side up. The first time I tried to do these, I sewed with the right side up, very neatly, thinking I could catch my hem all the way around. Hah! Haha ah haa haaaaaa. WAh. Okay. Then, moving on.
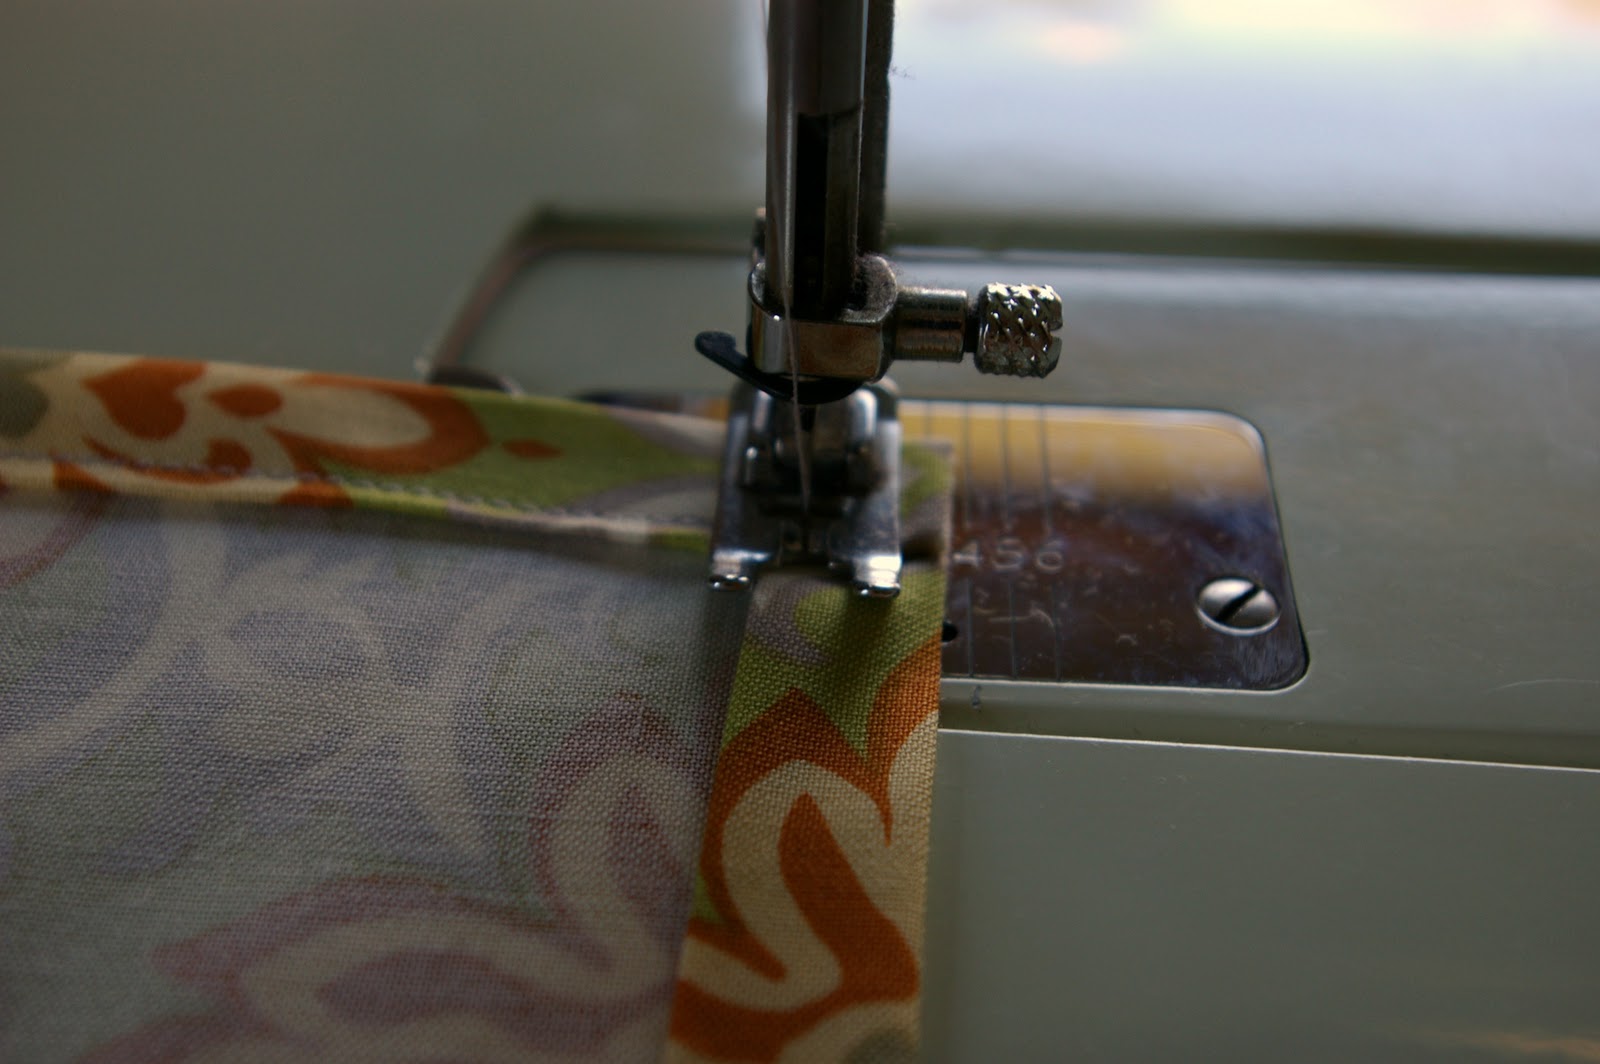
I solved the loosesness problem, whatever it's called, by sewing another round around the cloth, this time from the top.

And, here they are, top and bottom.

Yep, they work!

Okay, I know the napkin belongs in your lap while you're eating, but you really don't need a picture of my lap. Really.
These were so easy, I might just make some more for other seasons. Check back in a year for that...
UPDATED 10-14-10 to add: Here's a link to Tanya's tutorial on making corners the way they're supposed to be made, aka mitered corners. This would be better than what I did, although my way did get it done.
UPDATED 10-14-10 to add: Here's a link to Tanya's tutorial on making corners the way they're supposed to be made, aka mitered corners. This would be better than what I did, although my way did get it done.
Sigh! Doesn't it make you wonder why we procrastinate so much? I have a huge stack of fabric that is going to be napkins....one day!
ReplyDeleteWith beautifully mitered corners, I bet! Hope you don't mind I linked to your tutorial on that method?!
ReplyDeleteI remember that comment you mention :-)
ReplyDeleteIs that Amy Butler? Very nice! And more seasonally-appropriate :-)
Thank you for linking to the mitered corners tutorial! I wish I'd seen that 100+ napkins ago... If I ever make another set, I'll definitely be doing it that way!
Yes, it's Amy Butler fabric. I wanted something a bit heavier, and this was just the right weight. I'm going to get a bit more and try those mitered corners of Tanya's, too. Doesn't she rock?!
ReplyDelete